The Complete Guide to Installing & Choosing Solar & Lithium Batteries: From Home Systems to Golf Carts
This comprehensive article delves into the world of modern energy storage, covering your queries on installing solar batteries, wall-mounted lithium units, golf cart upgrades, inverter power, and how to choose the best solar batteries.
Part 1: Installing Solar Batteries – The Core System
Installing a solar battery system transforms your solar panels from a daytime-only solution into a 24/7 power station. It stores excess energy generated during the day for use at night, during outages, or during peak tariff hours.
Key Steps for Installation:
- System Design & Sizing:
- Energy Audit: Calculate your daily energy consumption (kWh) from your electricity bills.
- Backup Goals: Decide which circuits are critical (e.g., fridge, lights, internet) during a blackout. This determines your “load” requirement.
- Battery Capacity: Size your battery bank (in kWh) to cover your desired backup duration. Common residential sizes range from 10 kWh to 20+ kWh.
- Choosing the Right Components:
- Battery: DC-coupled (often with a hybrid inverter) or AC-coupled (like the Tesla Powerwall). AC-coupled is simpler for retrofits.
- Inverter/Charger: A hybrid inverter is essential. It manages solar input, grid power, battery charging/discharging, and provides backup power. For AC-coupled systems, the battery has its own built-in inverter.
- Safety Gear: DC disconnect switches, fuses/circuit breakers, and surge protection are mandatory.
- The Installation Process (Overview):
- Professional Installation is Highly Recommended. High voltage DC and complex electrical codes make this dangerous for DIY.
- Mounting: Batteries are installed on a sturdy wall (wall-mount) or on the floor, in a garage, basement, or exterior wall (if rated for outdoor use).
- Electrical Connection: The battery is connected to the hybrid inverter or your main electrical panel. Critical loads are often routed through a dedicated sub-panel.
- Commissioning & Grid Approval: The installer configures the system software, tests all functionalities, and ensures it complies with local utility interconnection rules.
Important PDF Reference: Search for “NEC Article 706” (National Electrical Code) for the official US safety standards for energy storage systems. Manufacturers also provide detailed installation manuals (e.g., “Tesla Powerwall+ Installer Guide,” “Enphase IQ Battery Installation Manual”).
Part 2: Wall-Mount Lithium Battery – The Modern Standard
Wall-mount lithium batteries (using LiFePO4 chemistry) are the preferred choice for home solar storage due to their safety, longevity, and compact design.
Advantages:
- Space-Efficient: Mounts neatly on a wall, saving floor space.
- LiFePO4 Chemistry: Safer (more stable chemistry), longer lifecycle (6,000-10,000 cycles), and better depth of discharge (90-100%) than lead-acid.
- Modular: Systems like those from EG4, FranklinWH, or LG can be stacked to increase capacity.
- Integrated Management: Built-in Battery Management Systems (BMS) for safety and monitoring.
Installation Considerations:
- Wall Strength: Must be mounted on a load-bearing wall that can support significant weight (e.g., a 30kWh battery can weigh ~300 lbs).
- Environment: Install in a temperature-controlled space (typically 32°F to 77°F / 0°C to 25°C optimal).
- Clearances: Maintain required clearances around the unit for ventilation and service access as per the manual.
Part 3: Installing Lithium Batteries in a Golf Cart
Upgrading a golf cart from lead-acid to lithium is a game-changer.
Benefits:
- Longer Range: Up to 2x the distance on a single charge.
- Faster Charging: Charges in 2-4 hours vs. 8+ hours.
- Lighter Weight: Lithium packs are ~70% lighter, improving cart performance and reducing wear.
- Zero Maintenance: No watering, and they hold charge when not in use.
Installation Guide:
- Purchase a Drop-in Replacement Kit: Ensure it matches your cart’s voltage (36V, 48V, 72V). Brands like RoyPow, ECO Battery, and Allied Lithium offer complete kits.
- Safety First: Disconnect the main negative lead-acid battery terminal first.
- Remove Old Batteries: Carefully extract the heavy lead-acid batteries and their tray.
- Install New Battery Rack: Most lithium kits come with a new, lighter rack.
- Connect the Lithium Pack: Install the single, compact lithium battery pack. Connection is simpler (often just positive and negative terminals).
- Connect the BMS Cables: Attach any communication cables between the battery and the provided monitor/display.
- Reconfigure Charger: CRUCIAL STEP. You MUST use the lithium-specific charger provided. Never use an old lead-acid charger, as it will damage the lithium battery.
- Test: Turn on the cart and check for proper operation.
Part 4: Lithium Batteries for Inverters
For off-grid or backup power systems, pairing the right lithium battery with an inverter is key.
- Voltage Matching: Your battery bank voltage (12V, 24V, 48V) must match the inverter’s DC input voltage. 48V is the standard for home systems due to higher efficiency and lower current.
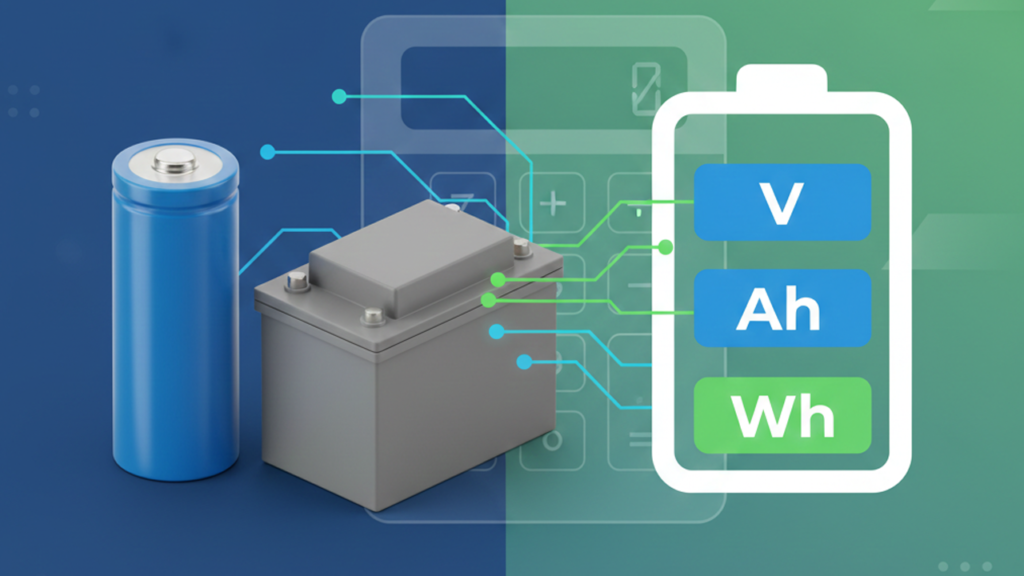
- Capacity (Ah/kWh): The battery’s total energy storage must support your inverter’s load and desired runtime.
- Continuous Discharge Rate: The battery must supply enough current (in Amps) to match the inverter’s peak wattage. Calculate: Inverter Watts / Battery Voltage = Required Amps.
- Communication: For optimal performance, use a battery and inverter from the same ecosystem (e.g., Victron with Victron, Schneider with approved batteries) or ensure they have compatible communication protocols (CANbus, RS485). This allows the inverter to optimize charging and protect the battery.
Part 5: Best Lithium Batteries for Solar – Top Contenders
The “best” depends on budget, feature needs, and installation type.
| Battery Model/Type | Key Features | Best For |
|---|---|---|
| Tesla Powerwall+ | Integrated inverter/charger, sleek design, robust software, storm watch. | Homeowners seeking a seamless, all-in-one AC-coupled solution with strong branding. |
| LG RESU Prime | High energy density, proven track record, compatible with many inverters. | Those wanting a reliable, compact wall-mount battery from a major brand. |
| FranklinWH aPower | Unique integrated backup panel (gateway), modular, high power output. | Homes prioritizing whole-home backup and future expandability. |
| Enphase IQ Battery | Fully modular, microinverter-based (AC-coupled), safe (48V per battery). | Homes with existing Enphase microinverters; those valuing modularity and safety. |
| EG4 LL-S / Lifepower4 | Excellent value, LiFePO4 chemistry, rack-mount, popular for DIY/off-grid. | Cost-conscious DIYers or installers building custom 48V off-grid systems. |
| Sonnen Eco | German engineering, integrated energy management, virtual power plant ready. | Eco-conscious users wanting advanced grid-interactive features. |
Final Takeaways & Safety Warning
- Professional vs. DIY: Home solar system installation is a professional job due to high-voltage DC, grid interconnection, and permitting. Golf cart conversions are a feasible DIY project with the right kit.
- Chemistry is King: LiFePO4 (LFP) is the dominant, safer chemistry for residential and mobile storage.
- System Compatibility: Ensure all components (solar, inverter, battery, charger) are designed to work together.
- Permits & Incentives: Home installations require permits and inspections. Check for federal (e.g., ITC) and local battery storage incentives.
- Prioritize Safety: Always follow manufacturer instructions, wear PPE, and work with de-energized systems when possible.
Investing in lithium battery storage, whether for your home or golf cart, enhances energy independence, reliability, and efficiency. Proper planning, component selection, and installation are the keys to a successful project that will deliver value for years to come.